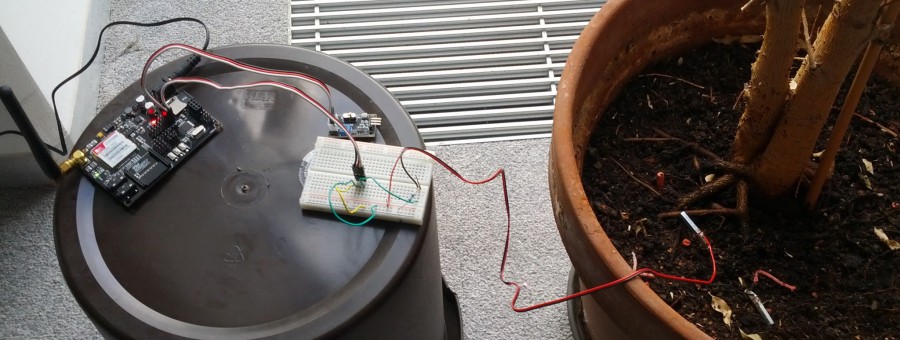
In part 1 I told you about the first try, to measure the soil moisture with two nails. However, until now, this isn’t a connected device. To bring my data into the cloud I used the Gboard, which is a Arduino based board with a GSM module. I used this, because it is cheaper, than a Arduino Uno with a GSM shield.
GBoard Setup
At first we need to set up the GBoard correctly. I will not explain it here, because everything you need to know is well documented in the M2M Developer Community, which is a part of the Developer Garden. If you click here, you will see the Developer Platform documentation, than go to the section “Getting started with Deutsche Telekom M2M DevStarter Arduino“.
There are also some sample sketches explained, for example, how to register your Arduino at the developer platform and how to send a measurement.
The Coding
Now let’s do a bit of programming. As base, code snippets from the SendMeasurement and RaiseAlarm sketch are used. In the picture above you can see that I also added a light sensor, however a temperature sensor could be added, too.
After a bit of searching in the Arduino forum I found this post. Here, somebody posted a code in which they used a kind of simulated AC because DC let the nails or other metal sticks corrode faster.
The full code can be found here.
The Web Application
Of course we want to have a nice interface, where you can see your collected data.In order to do so, I used the energy app which is part of the end-to-end example of the developer platform. To view my collected data, I did not have to change a lot, I just modified the name of the variable “yField” to the “moisture”, because I stored the measurements with this name in the platform. The variable “yTitle” I changed to “Moisture (%)” because I saveed the soil moisture in percent.
After a bit more of modification, the result looks like this:
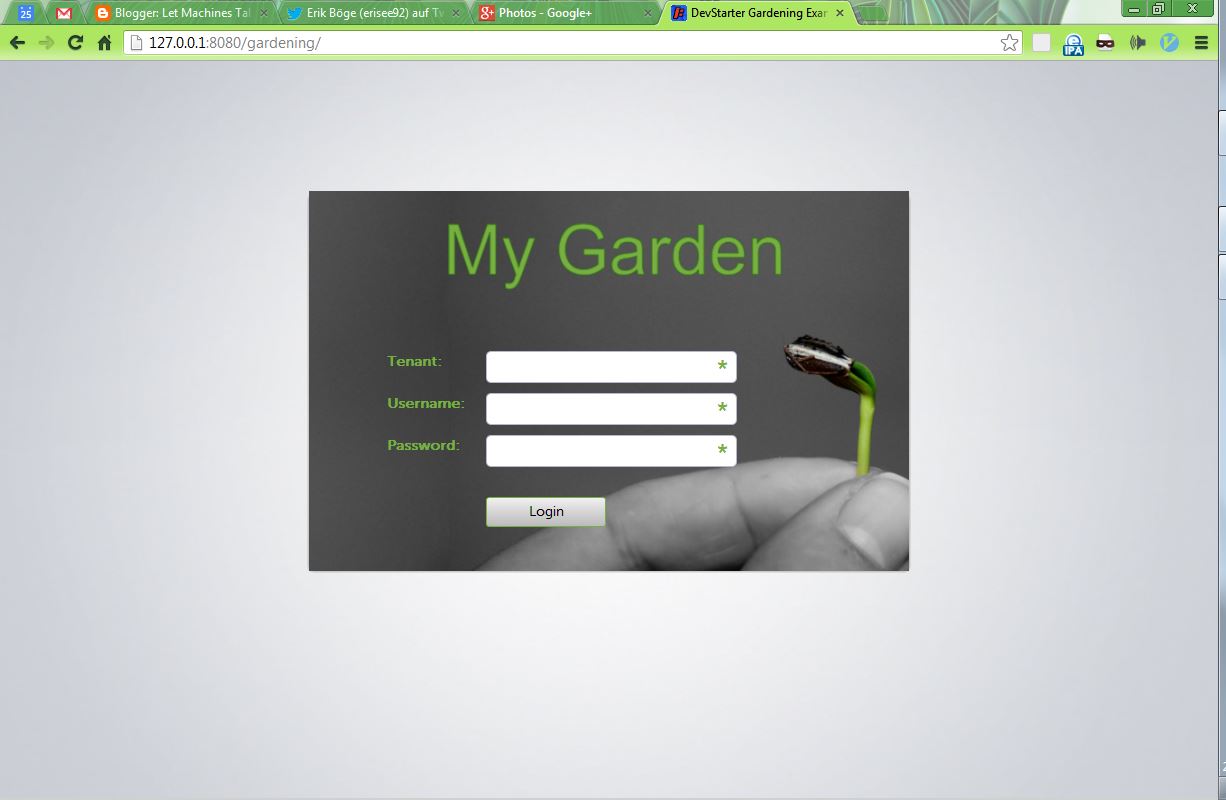
Login Screen

Graph